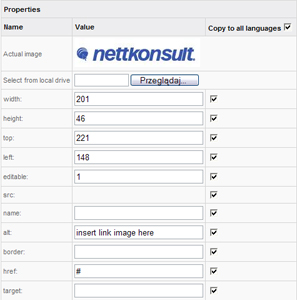
Actual image – Shows the current picture that you are editing the link for.
Select from local drive – Allows you to add the link image from you local computers hard drive. Local computer means the one you are using while working with your CMS.
src – Shows the source of the file, that is, where the file is stored. This space will be empty if no image is added.
name – Allows you to give an additional name to your image.
href area - If the link target is an outside page fill this field with the address you want the link to target.
To link to a page within your CMS type in: ?page=ID, where ID is the ID number of the page you want the link to target. You may check the ID of page in the Pages management section.
alt area – This function allows you to give a name or rather a description to your picture. This function is very useful for a visitor who has pictures disabled in their browser, since he will at least be able to see what the picture is about. Thanks to this option, search engines can categorize your website and web content in a much better way, which will in turn, allow your visitors to find the information you want them to find a lot easier.
width and height areas – Are used to change the size of your picture.
Since now you are in the edit image link section you will see the following pictures on your bottom actionmenu.