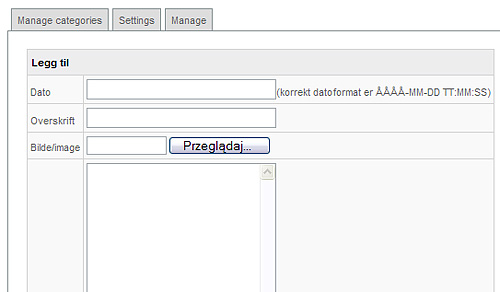
Date area: Here you may add the publishing date of the article
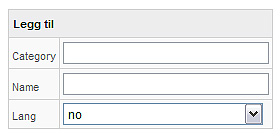
Title area: Here you may choose the title of the article. This title will apear on your webpage when you add the specific news plugin to it.
File area: Here you may add a picture to your news article. You can do this by pressing the Browse button and choosing the specific picture from your computer.
Article area: Here you may type in your article. Preforably first type in the article you want using your favorite word procesing program and then just copy/past it into this field.
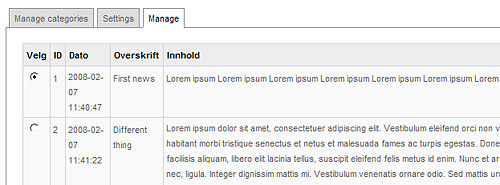
Editor – This button allows you to edit the setting of the specific news plugin item that has already been created. The screen that shows after pressing this button is the same as when pressing the Add button. The only difference is that here you are editing an already created news plugin item, whereas pressing the Add allows you to create a new plugin item.
Enable – This option allows you to Enable or Disable the selected news plugin. If a plugin item is disabled it will not be showed in the edit box when editing your plugin in the Edit mode. The default is set to Disabled when you first create a new news plugin item.
Delete – This button deletes the selected news plugin item.
Cancel – This button takes you out of this section of your CMS.
After creating and saving your plugin you may add it to your website. To do this you will have to first create a new webpage or go to the news webpage you have already prepared for this plugin.